Are you a new tester getting started with Android automation on a Mac? You might have noticed that many mobile apps today rely heavily on user-generated content, like messaging apps that upload images or file-sharing services that handle large documents. Testing these workflows can get tricky, especially when verifying file uploads and interactions.
Fortunately, Appium makes it easier to automate file uploads on both Android and iOS devices. If you’re using an Android emulator on Mac, this setup can help you simulate real user interactions and automate upload scenarios without needing a physical device.
Not familiar with Appium or how to configure uploads on the Android emulator setup? Don’t worry—this article walks you through multiple strategies to handle file uploads effectively. We’ll also cover best practices, common challenges, and troubleshooting tips to help you make the most of your mobile testing environment.
Why Execute File Testing
Before we start into the intricate details of file testing with Appium, we must have a clear idea about why we should even bother about file testing in the first place. To further justify the implementation of this process, let us divert our attention toward some of the most prominent use cases that can benefit from this step:
- If you are working with messaging apps, you will see that you need to allow your users to send photos, videos, and other media, depending on their requirements. This is one area that can massively benefit from the inclusion of file testing.
- Modern cloud storage or file-sharing apps must have a central focus on uploading and downloading documents, images, and other forms of content. Therefore, you should also implement comprehensive data uploading and downloading testing processes on these apps.
- Working on a social media app? Then, you must allow your users to upload images, videos, or status updates so that they can interact with their friends and followers.
- Finally, e-commerce apps are another critical area that needs the implementation of proper file testing. This is because your users will upload images of products, receipts, or identification documents so that they can make various business transactions with their app.
What Is Appium?
Are you a new tester who does not even know what Appium is? Fine enough! Let us start with the basics. Appium is an open-source test automation framework that allows you to write automation tests on multiple mobile platforms like iOS, Android, and even Windows.
Thanks to the unified API configuration of Appium, you can use a single source of code on multiple platforms. The advantage? You do not have to write platform-specific test scripts for every target operating system.
To further understand the role of Appium in modern testing, let us divert our attention towards some of its major features:
- Appium will allow you to perform cross-platform testing, as one set of tests can be adapted to run on multiple platforms and operating systems.
- Do you have a programming language that you prefer over all the others? We have good news for you! With Appium, you are not tied down to any programming language and can choose any language to create all your mobile automation test scripts.
- Since it is an open-source framework, you not only have to pay for its features, but you also have access to a huge community of developers and testers. So, you can always refer back to these whenever you’re stuck with any feature.
- When you are using Appium for uploading files and media, the challenge mainly revolves around interacting with the operating system-level file chooser or automating the app’s custom file upload flow.
Setting Up Your Environment
Excited to introduce Android automation with Appium for uploading files and media? Let us now divert our attention toward all the steps that you must follow to set up your testing environment for this workflow:
1. Install Appium
Since Appium is our primary testing framework, the first step will be installing it on your test machine. You can easily perform this process using Node.js. How? You just have to enter the following line of code in your test system:
npm install –g Appium
You also have the option of using the Appium Desktop graphical user interface for performing the installation process. However, while using it, you must make sure that you have the current version of Appium that matches your preferred test environment version.
2. Set Up SDKs
For Android automation, you have to download and install the Android SDK. After this process, you also have to configure the “ANDROID_HOME” environment variable so that it can run all the test cases in the native environment of an Android device.
If you want to perform the same process on iOS devices, you have to install XCode and command line tools. However, you must remember that with Appium, you can run the iOS test cases only on a Mac device.
3. Emulator Or Real Devices
As you move forward with mobile automation, a key decision you’ll face is whether to run your test cases on emulators, like an Android emulator for iPhone setups, or on real devices.
Each option comes with its own set of pros and cons. Emulators, for example, are easy to set up and maintain. If you’re using an Android emulator for iPhone, it allows you to simulate Android environments right from your Mac without needing physical Android hardware. However, emulators can sometimes produce inconsistent test results due to limitations in hardware simulation and OS behavior.
If you’re looking for reliability and scalability, we recommend exploring cloud-based platforms like LambdaTest. These platforms eliminate the need for maintaining physical labs while offering access to thousands of real devices and environments. With real device testing on the cloud, you’ll get more accurate test results, better performance insights, and fewer false positives.
LambdaTest is an AI-native test orchestration and execution platform that allows you to run both manual and automated testing at scale across 5000+ browser-OS combinations and 5000+ real devices. It also integrates seamlessly with Appium, making it easy to automate web and mobile app tests, even when running advanced scenarios like mobile cross-browser testing.
4. Appium Inspector
The final step in the environment setup process is to add tools like Appium Inspector. This will help you locate the elements that you need to interact with when uploading the files. You must remember that if you are targeting older browser devices, then you need to replace Appium Inspector with UI Automator Viewer. For iOS devices, you need to use the Xcode Accessibility Inspector.
Approaches to File Uploading in Appium
Now that you have set up your test environment, it is time to start uploading your files to Appium. We would like to remind you that the process of uploading will vary depending on whether you are choosing Android or iOS devices.
To further help you with the understanding process, we have laid down the approach for both of these operating systems:
- For Android, you can either perform direct upload using the sendKeys() method or push the file to the device and then select it during the testing process. For the first method, it can be a straightforward way, but it will be challenging for apps that rely on separate OS-level flows, which cannot be manipulated by this method. On the other hand, for the direct transfer, you will need specific knowledge about the file system of your device.
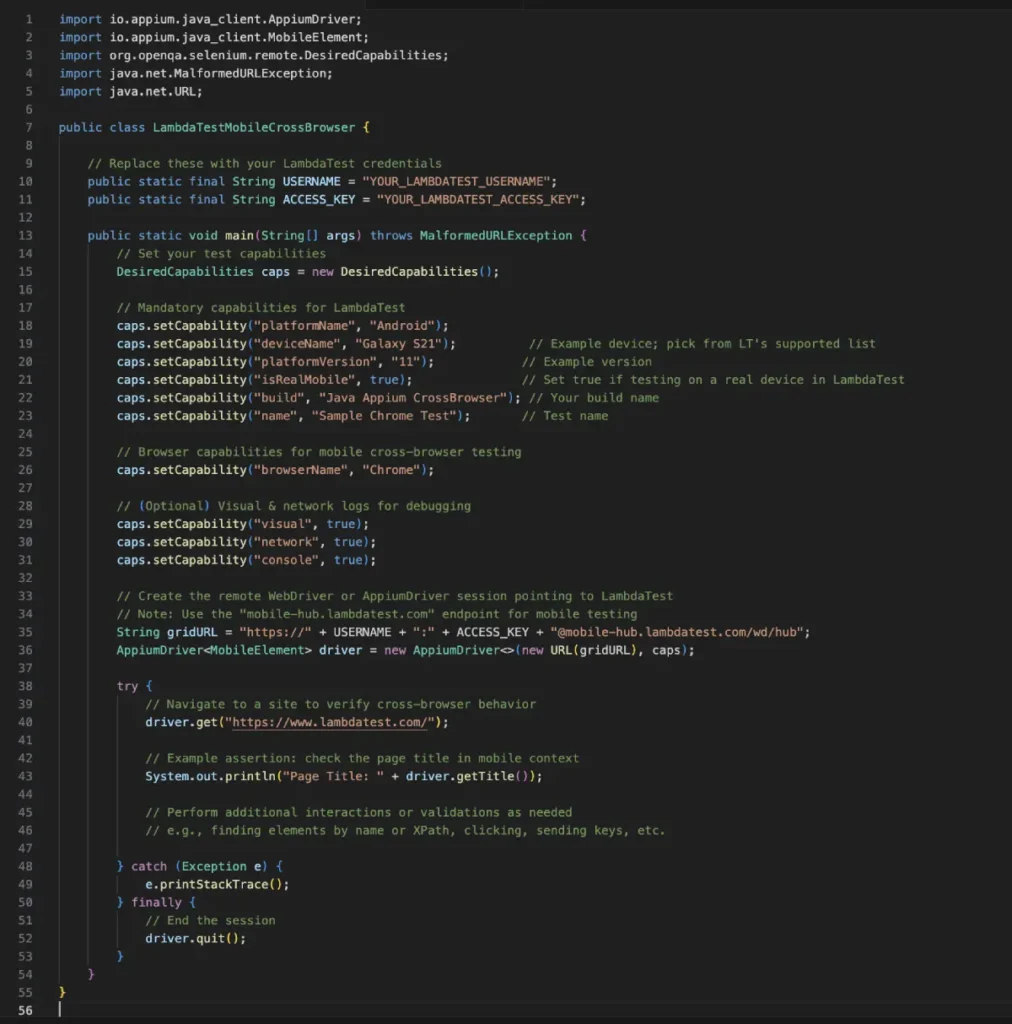
- It is also worth noting that in certain Appium client libraries, you have a specific command for pushing files directly into the session. To help you with the understanding, we have given a sample code for this implementation:

- On iOS devices, you can either rely on the simulator + file injection method or use real devices with the app sandbox. The first method can be a great process for apps that rely on media elements, but it will not be suitable for real device testing.
On the other hand, in the second method, your tests will have real-life usage patterns but will be very complicated, and you will have limited control over the broader file system.
Best Practices For File Testing With Appium
Finally, let us divert her attention to some of the best practices that you must consider while you are implementing file testing with Appium:
- When you are in the process of pushing or retrieving files, you should use directories like “/sdcard/Download” on Android or the photos library on the iOS simulator. This approach will ensure that you are maintaining consistency within your testing environment.
- If you’re working on tests that can generate or upload huge files, you need to delete them at the end to keep the emulator or device from filling up internal storage. For example, you can use the ADB ‘rm” command on Android to eliminate the files after Android automation.
- When you are uploading your files to Appium, you will realize that it is a multi-step process consisting of granting permissions, opening a file picker, selecting the file, and confirming the upload process. Therefore, it is very useful to create smaller methods for each step, which can improve the maintainability and the readability of the infrastructure.
- It is a seriously good practice to automate the permission dialog box on Android if they are being triggered during the file uploading procedure. You can also add an additional step that can allow or deny the button’s visibility, depending on your requirements.
- If you’re working on an application that is compatible with different versions of iOS and Android devices, you must test the file sharing across all of these versions. This is because different Android versions can change the UI of the file picker. Similarly, on iOS, there is a huge change in the photos or document picker interface depending on the version.
The Bottom Line
Based on everything we’ve explored in this article, it’s clear that automating file and media uploads is a crucial component of end-to-end testing for today’s mobile applications. Appium provides several approaches to support this across both Android and iOS platforms.
When defining your strategy, it’s important to factor in the underlying security models and file access patterns of your test environment. These elements play a key role in determining which automation path will be most effective. This is especially relevant when working with an Android emulator on a Mac, where emulated environments can behave differently from physical devices in terms of file handling and access permissions.
As you refine your test workflows, consider the potential differences between using real devices and emulators like the Android emulator for Mac, and tailor your approach accordingly. For teams looking to go even further, incorporating machine learning and AI-based techniques can help tackle complex automation scenarios and improve testing efficiency across the board.